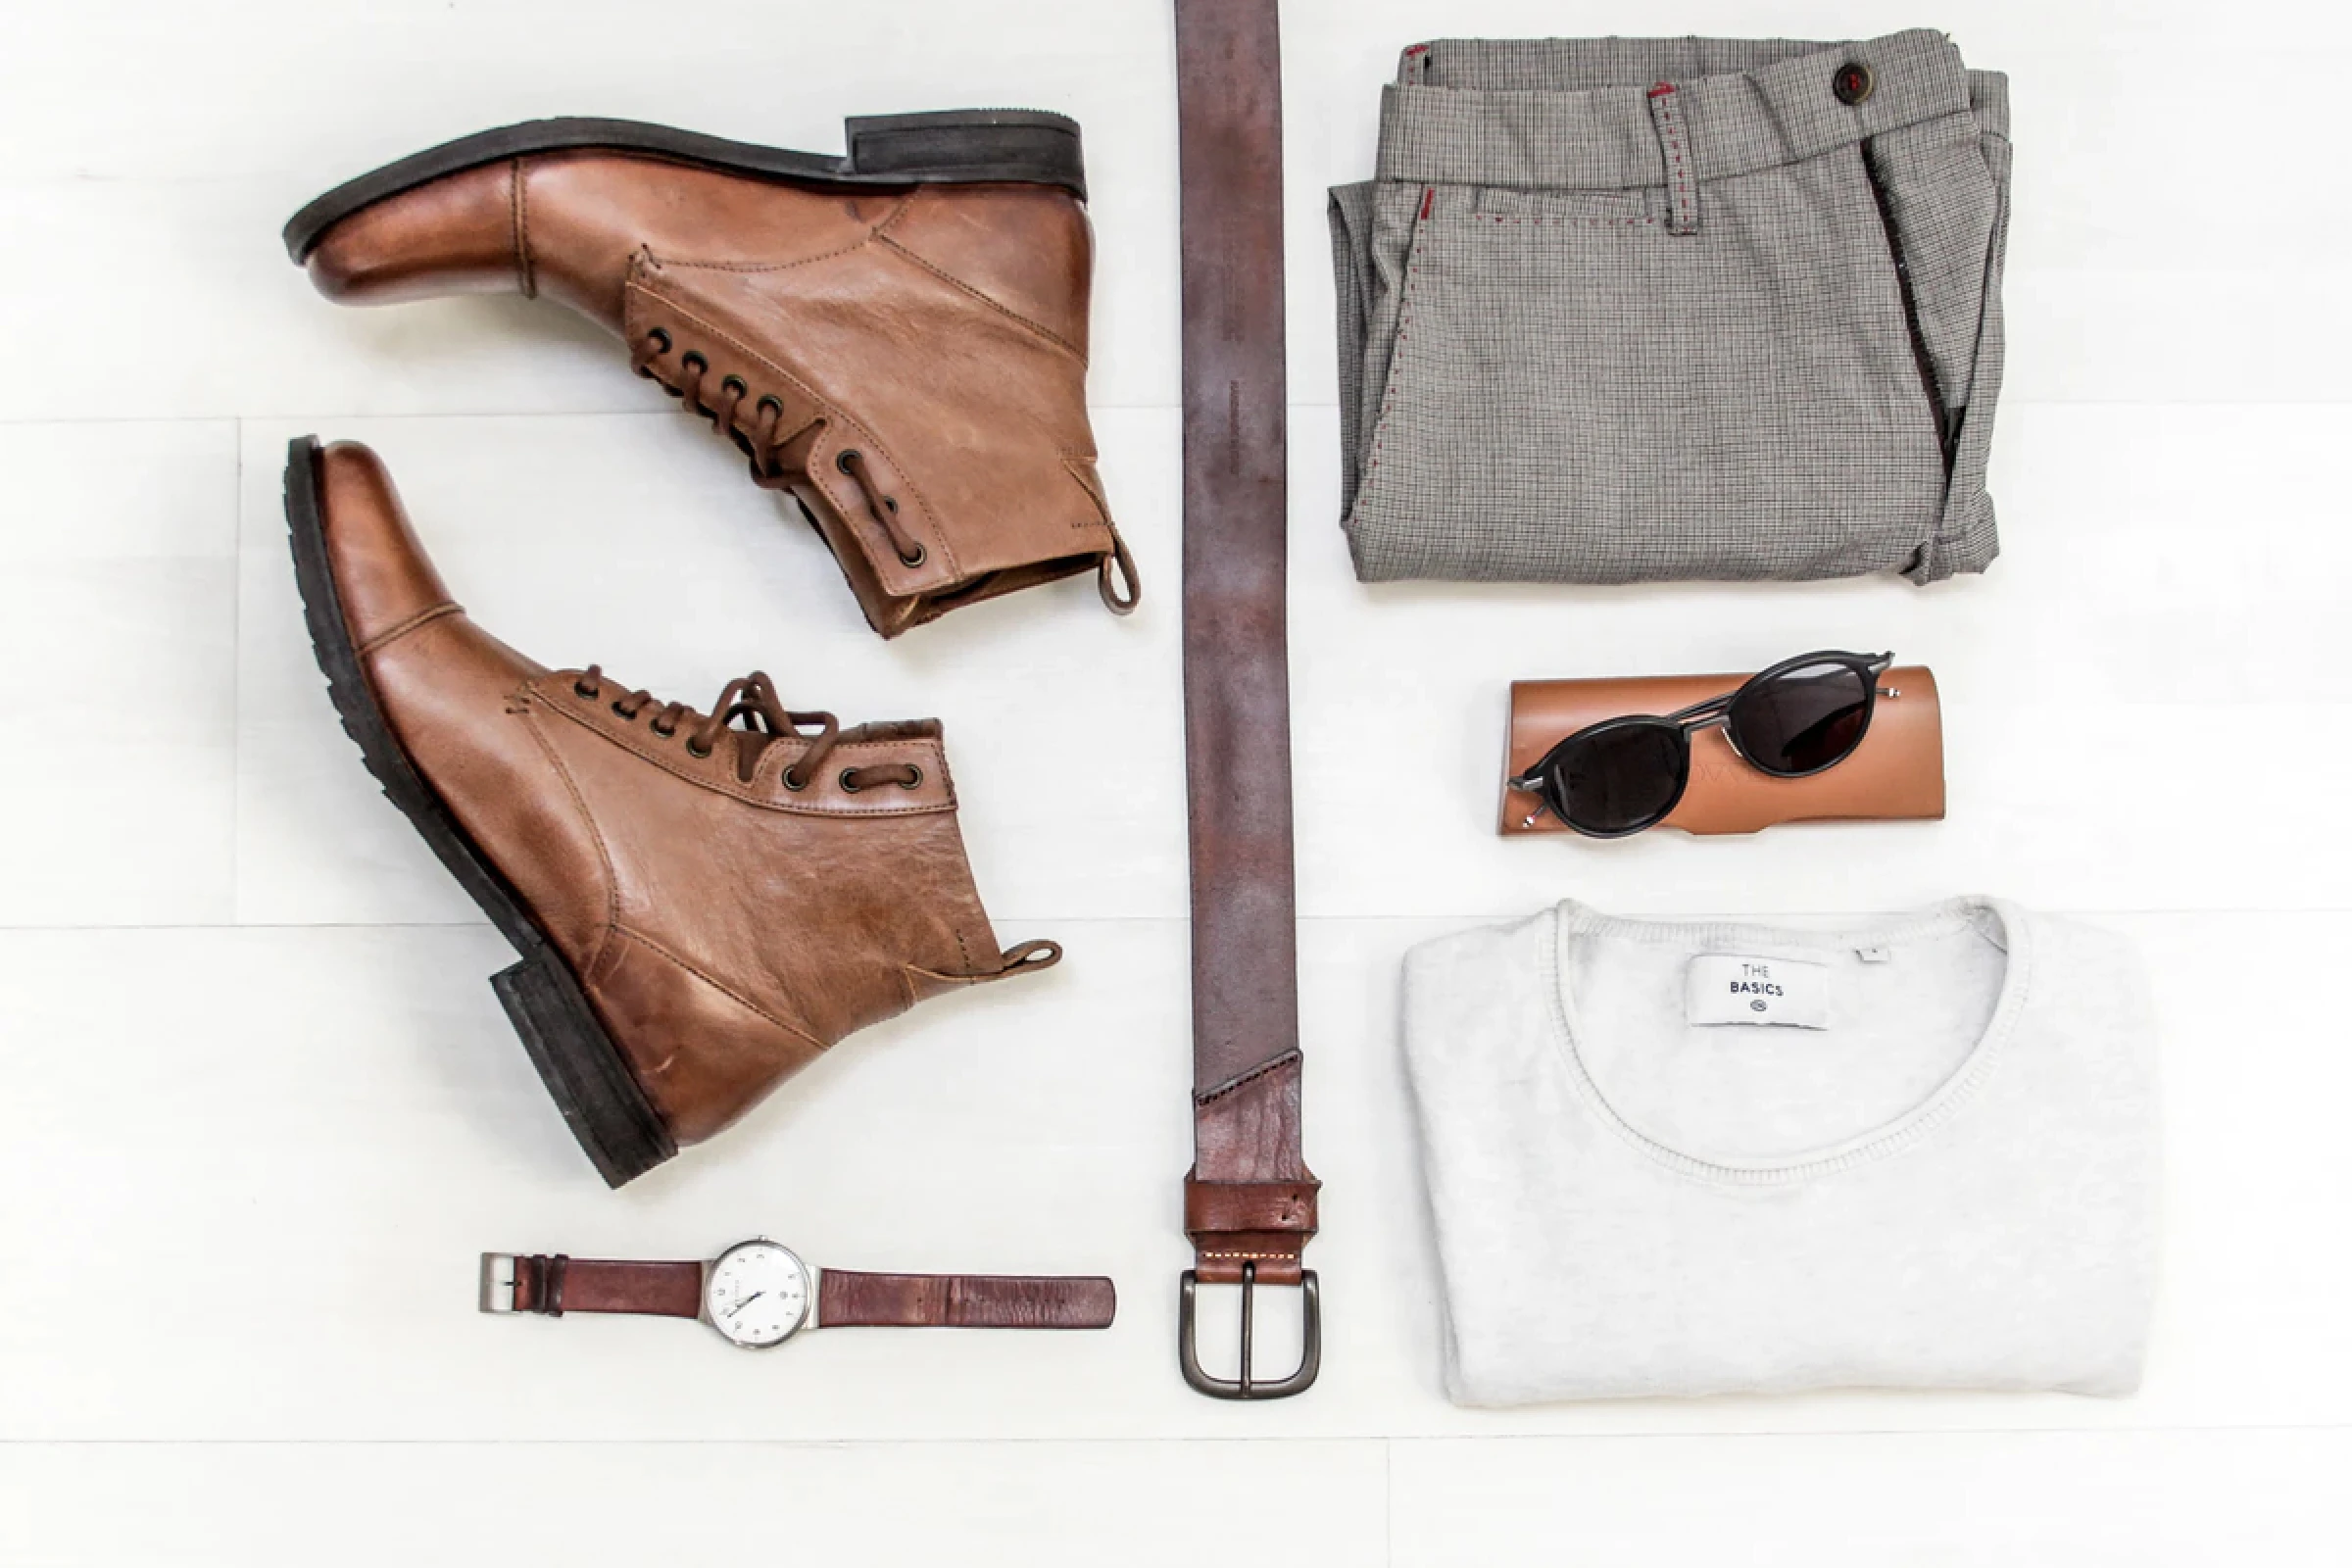
How To Create High Quality Product Photography For E-commerce Stores

Quick Summary How much are you spending on your website’s product photos? How about your social media assets? In an age where brands are suggested to post 3-5 times a week on social media, the photography and graphic design work is endless. One way to cut costs and ensure having full control over your product photography is by shooting your photos in-house.
When you choose to have your photos shot with an external photography company, you lose some control over the creative direction. Ultimately, you know what's best for your company, so having autonomy over a large part of your e-commerce site (visuals on PDPs, collection pages) is important. After all, 75% of online shoppers rely on product photos when choosing to make a potential purchase, meaning the photos have the potential to convince a potential customer to buy!
In terms of social media content, Hootsuite reported 50% of people have visited a website to make a purchase after seeing the product or service on Instagram. Your photos are likely driving sales to your site, as long as they are high quality and cohesive. Making sure your photo grid has a consistent tone, design, and editing style will not only create an aesthetically pleasing visual experience, but also seamlessly tell the story of your brand through your artistic vision.
When you are the one making all of the decisions for your photoshoot, your photos are bound to be consistent. After a quick trip to a local craft store and some practice, you won’t believe how much you paid for photos you had little say over!
Supplies
There are a few items you’ll need to get started. Here’s a basic list of things you’ll need before you start shooting.
Access to natural light. Use a window to your advantage and make sure there’s space near it to catch the sunlight. You don’t need an expensive softbox to get even, beautiful lighting!
A flat surface. A table may be best since it’s likely a similar height to the window, but if you’d rather use a chair or even the floor, that works too. Just make sure the surface is consistent.
A white foam board. These are sold in many different sizes, so you can shop for the best size for your products. This will be used as the background for the photos. The white color will add a clean look and will also bounce the incoming light onto the product to have it shine even more.
(Optional) A white sheet. If you’re going for a more sleek look, you may not want to use a sheet, but if your brand has more of a vintage feel, try draping a sheet over your flat surface and foam board. It’ll also add more depth to your photos, which makes your pictures more interesting to look at.
Your product (and anything else it needs). If you sell beauty products, you may want to have cleaning supplies nearby to make sure your palettes shimmer in the light. If you’re a fashion brand, having a steamer or iron handy may be smart just in case your product needs some freshening up.
Props. Adding small items to your setup will make the photos look more pleasing and professional. Your setup may benefit from having a few small plants between the product and the foam board. You could also benefit from placing your product on a small decorative tray. The props are up to you and what the artistic vision is for your company.
A camera kit OR your phone. If you have the most recent iPhone and you’re taking photos for Instagram, you can get away with shooting on your phone. If these photos are going on your website, you may want to purchase a DSLR camera to ensure that your photos are a high enough resolution for your site. Check out our camera recommendation under “Price Breakdown”.
A tripod. If you’re using your phone or camera, a tripod is a must for taking consistent photos. It also speeds up the process of the photoshoot, especially if you don’t have any assistance. You will be able to change out products and props much quicker if your photo-taking device is stationary.
Editing software. Again, this will depend on your reasons for taking the photos. Adobe Lightroom is the industry standard AND free on mobile devices, so if your photos are going straight to social media, this would be a smart, cost-effective option. If you’re not sure what size the photos need to be (i.e. for a product page on your site) it’s best to edit on a laptop so your photos don’t shrink in resolution. Either way, Lightroom is a very user-friendly editing platform, so there’s no need to worry about there being a huge learning curve.
Step-By-Step Guide
Before you shoot:
If it’s possible, do a practice shoot day. Because there are a few different moving parts, it will be beneficial to step up a time to make sure you have everything you need to take gorgeous photos. You may also need to location scout for different areas in the room that you’re using to see which spot has the perfect lighting. Make sure you are practicing at the same time of day as you will be doing the real shoot, so you know where the sun hits the room. Note: midday sunlight is always harsher and creates more contrast than sunlight during the morning or late afternoon.
Gather all your tools. Make sure you have everything you need, and that your camera or phone is fully charged.
During the shoot:
Set up your surface where the natural light is hitting the product to your liking. You may want to wipe it down to make sure there’s nothing detracting from the product.
Prop your foam board up behind the product using something heavy like a large book, or place your product directly on the foam board if you’re taking a flat lay photo (a photo from above where the camera is parallel to the ground).
If you’d like, drape the sheet over the board and the surface.
Place your props on the surface and display your product to create a composition that is to your liking.
Start shooting! Make sure the product is in focus and click away. Another plus is that you aren’t paying for studio space, so you can take your time.
Try handheld shots and shots on the tripod. A tripod is great for consistency (photos of different products but using the same angle and framing) and handheld shots are great for more creative angles or close-ups.
If you’re not comfortable with switching up the camera settings, the Auto setting will work just fine. However, one thing you should change is the image format setting. Head over to your settings and change the format from JPEG to RAW. RAW photos are larger in size and contain more information in them. Shooting RAW will make it so you’ll be able to edit the photos more to your liking.
If you’re using an iPhone, note that pressing on lighter parts of the screen will create a darker photo and vice versa. Once you find the perfect lighting, lock it by holding down on the screen until the exposure box flashes. Then when you move the phone, the lighting won’t change at all. If you want to change it again, simply tap the screen.
You shouldn't rush, but you should try to stay conscious of the time. As time passes, the lighting in your space will change, so try your best to stay focused. This is an example of why doing a practice shoot may be beneficial.
Are you seeing 30% of revenue from Email & SMS Marketing? Let's Discuss.
After the shoot:
Upload your photos to wherever you’re editing them. If you have a camera, remove the SD card and insert it into your computer. If you’re using an iPhone and Mac, simply airdrop your photos to the computer. Some cameras have wifi capabilities so you are able to transfer photos from the camera to your phone in a few seconds.
Sort your photos. Create a folder for the photos you’d like to edit and copy the files there.
Upload your chosen photos to Lightroom, and start editing! One way to have a cohesive set of pictures is to use an editing preset. There are plenty of preset options for purchase from independent photographers, or you can craft your own. A preset essentially copies and pastes the same editing settings (lighting, saturation, contrast, etc.) on each photo. This way, if you were to look at the photos in a grid, they all match each other. If editing is getting overwhelming, YouTube is a great resource to use for step-by-step tutorials.
Export your photos to another folder, and make a copy in a different spot to use as a back-up. Lightroom saves all of the photos you put in the app, but the last thing you would want is to have to re-export or re-edit your work.
Share your photos!
General Tips
You will get more and more comfortable with the process the more you do it. Just like anything else, photography takes practice. Luckily, there are plenty of online resources to use if you have general or specific questions about any of it.
Use Instagram and Pinterest as inspiration. After doing your own photoshoot, you will start looking at other brand’s product photography in a whole new light.
In terms of products, there are plenty out there for you to browse. You can buy boards for product photography specifically, but those will be pricier than the products you can find at a craft store. There are also studio lighting options available if they fit in your budget, such as softboxes or LED lights.
Pricing Breakdown
Note: most of these items can be found within a range of prices. If you’d rather splurge on a larger tripod or buy props in bulk, your total spending would be higher.
A white foam board: $2.99 for a 20” by 30” from Michaels.
(Optional) A white sheet: $11 for a twin-sized sheet from Target.
Props: This varies on what you have on hand. A set of 3 small fake plants are $9 at Target. A 10” x 4.7” decorative tray is $21.99 at Wayfair.
A camera kit OR your phone: Canon makes great cameras for beginners. A Canon 90D kit goes for $1,299 on Amazon, which includes everything you would need to start shooting (battery, battery charger, SD cards, lens, tripod). It was released in 2019, so the price has dropped some. You can always go with the version before that, the 80D, to save some money. The most recent iPhone (iPhone 12) goes for $829.00 and has a great camera built-in.
A tripod: If you don’t buy a kit that includes a tripod, you can get a 58” one for $29.99 from Best Buy. If you’re using your phone, a phone tripod goes for $15.99 on Amazon.
Editing software: If you’re editing on your phone, Adobe Lightroom is free. If you’re on a computer, you can get Lightroom and Photoshop for just $10 a month.
If you choose to purchase the items recommended from this list, your total comes out to be between $889.97 and $1,353.98, depending on if you purchase a camera or use the software on your computer. A day-long product photoshoot averages at $2000 – $5000 per day. If your company has one shoot planned per quarter, you’d be saving up to $18,900 a year by taking photos yourself.
Conclusion
The process of gathering materials and practicing photography takes time. However, taking your own product photos can save your company a lot of money that can now be spent elsewhere. Plus, when was the last time you learned a new artistic skill? In the end, you will be proud of the work you created that benefits your company in more ways than one!


